Setting up a Raspberry Pi as a Pi-Hole Server
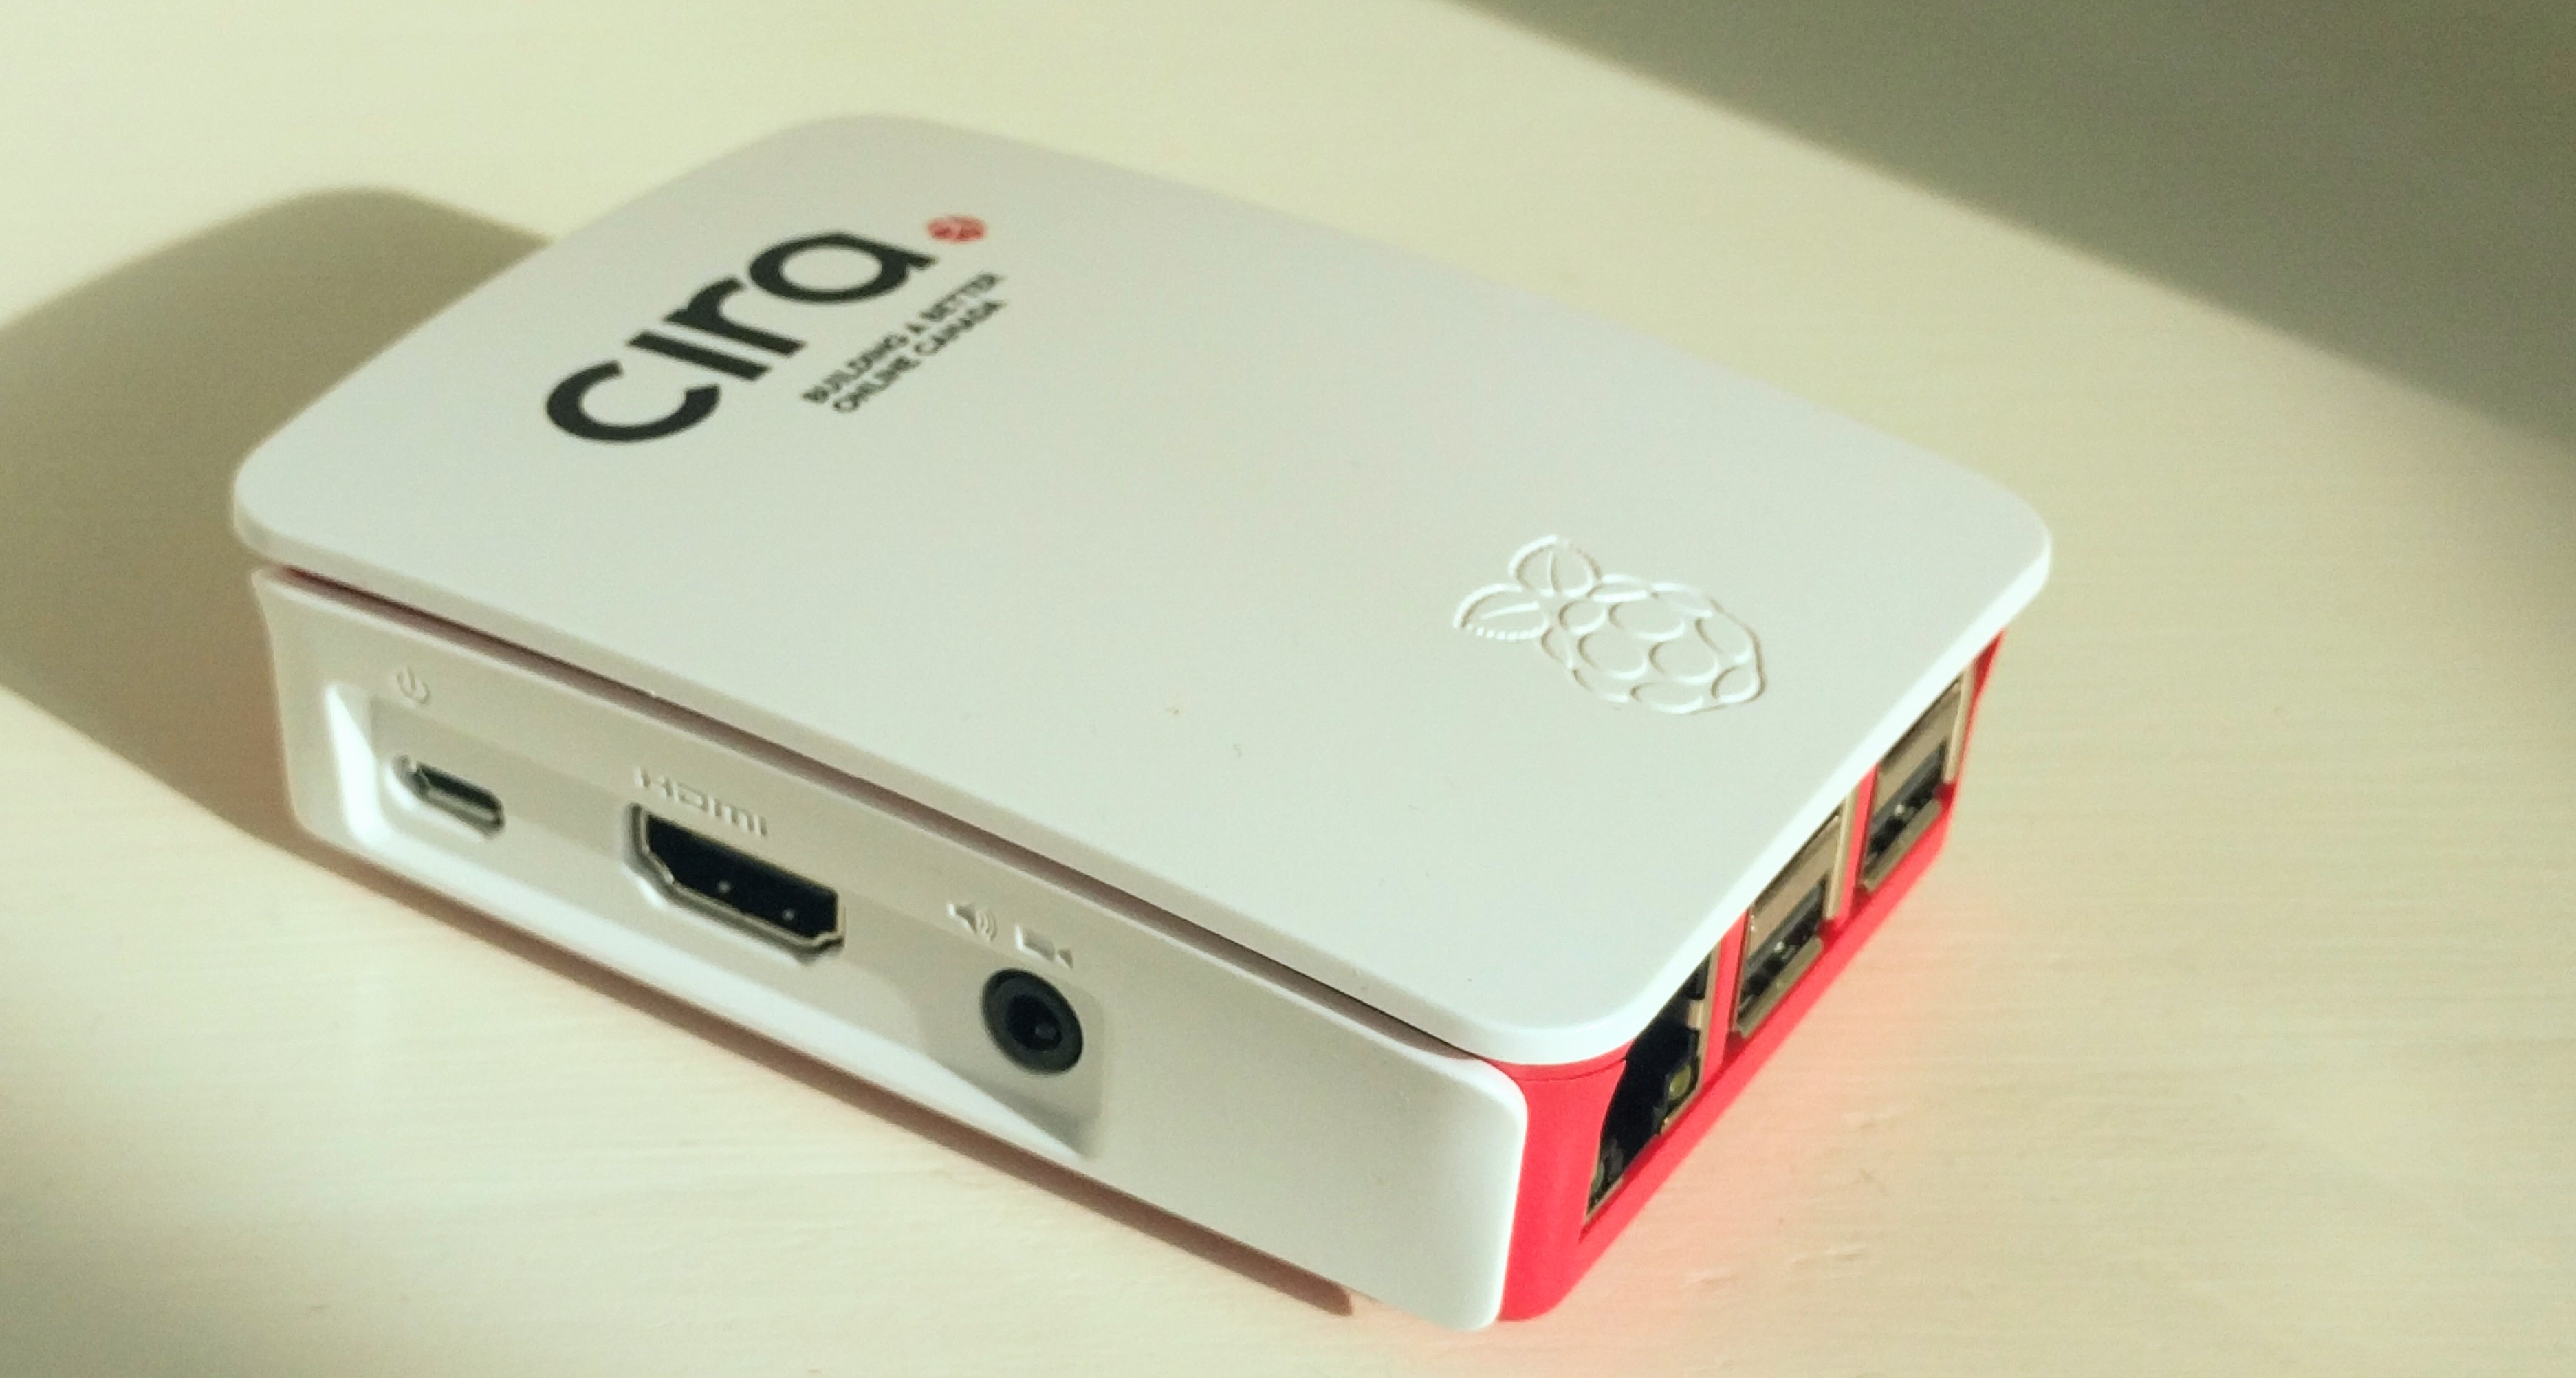
There’s lots of various writeups out there on how to do this, but this one is mine. In this article, we’re going to explore setting up Pi-hole on a Raspberry Pi, and tunnel all our DNS queries to CIRA’s “Canadian Shield” DNS service using cloudflared. Since I’m using CIRA as my DNS provider, I thought I’d also set this up in an official CIRA Raspberry Pi case:
Conventions
Throughout this article, we’re going to use 192.168.0.10 for the IP address of the Pi-hole server, and 192.168.0.1 for the IP address of the router. If these aren’t what you want to use, you’ll have to update these appropriately.
Install Ubuntu
First thing we need to do is install an OS on our Raspberry Pi. I grabbed a copy of the 64-Bit Ubuntu Image for my Raspberry Pi 3 B+. There’s detailed instructions for how to flash the SD here.
Then, plug a keyboard, monitor, and network cable into the Raspberry Pi and boot it up. It can take a while to boot, but once it does you should see a “ubuntu login” prompt. You need to wait quite a bit longer yet, and eventually you’ll see a messaging saying “cloud-init” and some other stuff, and then you can either login directly using “ubuntu” as the username and password, or you can SSH in if you can figure out the IP address.
(If it’s taking an obnoxiously long time for Ubuntu to create the ubuntu user, I’ll note that the first time I tried this, I used an old 8GB microSD card I found in the bottom of a drawer. Turns out it was a old class 4 card, which is slooooow. Upgrading to a modern microSD card made everything more pleasant.)
Static IP
We’re going to want to set a static IP for the Raspberry Pi. You can do this a couple of ways, but we’re goint to do it on our router. In the DHCP section, you can set a static IP for a device if you know it’s MAC address. On your Pi, run ip link and you should get some output like this:
$ ip link
1: lo: <LOOPBACK,UP,LOWER_UP> mtu 65536 qdisc noqueue state UNKNOWN mode DEFAULT group default qlen 1000
    link/loopback 00:00:00:00:00:00 brd 00:00:00:00:00:00
2: eth0: <BROADCAST,MULTICAST,UP,LOWER_UP> mtu 1500 qdisc fq_codel state UP mode DEFAULT group default qlen 1000
    link/ether b8:27:eb:00:00:01 brd ff:ff:ff:ff:ff:ff
3: wlan0: <BROADCAST,MULTICAST> mtu 1500 qdisc noop state DOWN mode DEFAULT group default qlen 1000
    link/ether b8:27:eb:00:00:02 brd ff:ff:ff:ff:ff:ff
The MAC address is the bit next to “link/ether” under eth0, so in our case “b8:27:eb:00:00:01”. We can assign a static IP to this from the router.
Now we want to force the Pi to renew it’s DHCP lease. Note that this is going to change the IP of the Pi, so once you do this you’ll get booted out and have to login again:
sudo dhclient -r && sleep 5 && sudo dhclient
Set Hostname and Upgrade
Run these commands to set our hostname:
# Create a user for us to use other than `ubuntu`
sudo adduser jason
sudo usermod -aG sudo jason
echo "jason ALL=(ALL) NOPASSWD:ALL" | sudo tee -a /etc/sudoers

# Set our hostname
sudo hostname pihole
echo pihole | sudo tee /etc/hostname

# Upgrade Ubuntu (this can take a LONG while...)
sudo apt update && sudo apt upgrade -y
The upgrade can take a really long time. So long, it’s likely you may drop your SSH sesssion for one reason or another. If this happens, you can check to see if the upgrade is still happening with:
watch "ps -ef | grep apt | grep -v grep"
This will list all the processes with “apt” in the name and refresh it every 2 seconds. If you see apt upgrade running, then the upgrade is still going.
Docker
For a long time I ran cloudflared and Pi-hole using Docker. This works well, so long as you’re not running any other docker containers, but you can run into some challenges if you want other docker containers on the same host to use Pi-hole to lookup DNS entries. You end up having to run cloudflared using --network host, because otherwise you can’t easily configure what IP Pi-hole should connect to, and then you run Pi-hole as --network host, but then you run into problems with other docker containers that are not running as --network host being unable to connect to Pi-hole to resolve domain names.
But, if you want to install docker:
curl -sSL https://get.docker.com | sh
sudo usermod -aG docker ubuntu
And then go look at these instructions.
Install cloudflared
cloudflared is a service that will accept DNS requests on port 5053, and forward then to a service provider of our choosing over HTTPS! If you’re in Canada, I recommend CIRA’s excellent Candian Shield DNS service (although unfortunately their DoH endpoint’s certificate doesn’t list their IP address as an alt-name, so we’re going to have to add an entry to our /etc/hosts file to get this working).
# If you're using CIRA's Canadian Shield, you need to
# add protected.canadianshield.cira.ca to your /etc/hosts.
# If you're not using Canadian Sheild, you can skip this.
# If you're not using "protected", then replace that with
# whatever you are using, and fix the IP addresses.  See
# https://www.cira.ca/cybersecurity-services/canadian-shield/configure.
echo "149.112.121.20 protected.canadianshield.cira.ca" | sudo tee -a /etc/hosts
echo "149.112.122.20 protected.canadianshield.cira.ca" | sudo tee -a /etc/hosts

wget https://github.com/cloudflare/cloudflared/releases/download/2020.10.2/cloudflared-linux-$(dpkg --print-architecture)
sudo mv ./cloudflared-linux-$(dpkg --print-architecture) /usr/local/sbin/cloudflared
chmod 755 /usr/local/sbin/cloudflared
sudo chown root:root /usr/local/sbin/cloudflared

# Make sure this works!
cloudflared --version

# Create a config file for cloudflared.  If you don't want to use CIRA's
# Candian Shield DNS service, you can use Cloudflare's DNS instead
# by replacing the proxy-dns-upstream with https://1.1.1.1/dns-query.
sudo mkdir -p /etc/cloudflared
echo "proxy-dns: true
proxy-dns-port: 5053
proxy-dns-upstream:
 - https://protected.canadianshield.cira.ca/dns-query
" | sudo tee /etc/cloudflared/config.yml

# Add cloudflared as a service
sudo cloudflared service install --legacy
sudo systemctl start cloudflared
sudo systemctl status cloudflared

# Make sure it works
dig @127.0.0.1 -p 5053 duckduckgo.com
log2ram (optional)
Pi-hole writes a lot of logs to disk. Since we’re running on a Raspberry Pi with a micro SD card, we can slowly over time wear out the limited write capacity of the card. This is probably not a huge concern, but we can lighten the load on the SD card here with a package called “log2ram”, which baically mounts /var/log on a ramdisk. The upside to this is less wear on your SD card. The downside is you’ll lose your logs when the system reboots. To install:
echo "deb http://packages.azlux.fr/debian/ buster main" | sudo tee /etc/apt/sources.list.d/azlux.list
wget -qO - https://azlux.fr/repo.gpg.key | sudo apt-key add -
sudo apt update
sudo apt install log2ram

# If you want to edit the size of the RAM disk:
sudo vi /etc/log2ram.conf

sudo reboot
After your Pi reboots, you can check that it’s working with:
$ mount
...
log2ram on /var/log type tmpfs (rw,nosuid,nodev,noexec,relatime,size=40960k,mode=755)
...
Install Pi-hole
Installing Pi-hole is quite painless:
# Install pi-hole
curl -sSL https://install.pi-hole.net | bash
Mostly you can answer the defaults during the installation process. When it asks you for your upstream DNS provider, use “127.0.0.1#5053” (which is the cloudflared instance).
When you’re done, be sure to take note of the admin password so you can
login to the web admin. If you don’t, it’s ok, you can always reset it by running pihole -a -p.
When the install is done, visit http://192.168.0.10/admin (replace 192.168.0.10 with the IP of your Pi-hole), and login.
The first thing we want to configure on our new Pi-hole is ad lists. Vist “Group Management => Adlists”. Check out The Firebog’s Big Blocklist Collection for a list of blocklists to add. After adding some lists, go to “Tools => Update Gravity” and click the big “Update” button.
If you have any websites that Pi-hole is blocking that you need to access (maybe you work in web development, so you actually want to visit a tracking site to see statistics) then head over to the “Whitelist” and add any domains you need.
One last thing; visit the “Settings” page, open the DNS tab, and make sure the “Upstream DNS Servers” are set to only use 127.0.0.1#5053.
Finally, test it out:
# Should succeed
dig @localhost duckduckgo.com
# Should get 0.0.0.0 as the address
dig @localhost mobile.pipe.aria.microsoft.com
Setup Router
Now that we have Pi-hole installed, we need to make sure devices on our network are using it. There’s instructions here for configuring your router. There’s lots of different routers out there, and it’s easy to misconfigure this, so when you’re done, go to https://dnsleaktest.com/, and make sure DNS is being resolved by the DNS servers you think it should be, and only by those servers. (If you’re using CIRA’s Canadian Shield, and you’re in the eastern part of Canada, this will probably be cira-tsi.tor2.teksavvy.com).
Pi-hole as DHCP server
One way around all of this is to set up the pi-hole as your DHCP server. This involves disabling DHCP on your router, and then turning on DHCP on the pi-hole server. On the pi-hole side, go to the admin page, and then to “Settings”, and pick the “DHCP” tab. Enable the DHCP server, and make sure you set the “router” field to be the IP of your router.
FreshTomato
Since all routers are different, it’s hard to give exact instructions on how to set up your router. But my router is running FreshTomato, so if you’re using a Tomato-based router, then you can follow along with this.
Update 2022-01-24 - Unfortunately the way I used to do this is broken if you’re using IPv6 because of a recent change in Tomato firmware. What I’ve done recently is to go to “Basic->Network” and set the DNS server to be the pihole. Under “Basic->IPv6”, I set Static DNS to be the link local address of the pi-hole (you can work this out by running ip -6 addr show | grep fe80 on the pihole). Then under “Advanced”, “DHCP/DNS” disable the internal DNS server in Tomato entirely by unchecking “User internal DNS”. This will cause the router to use the pihole as it’s DNS server. The router will advertise the pihole address as the IPv4 DNS server, and the router itself as the IPv6 DNS server.
If you want to take this approach there’s a few things you need to be aware of. First, you’ll no longer get “*.local” domain names for devices automatically from the DHCP server - if you want to assign domain names to local devices, you’ll need to make sure they have static IPs and then add an entry to the /etc/hosts file on the pihole and then sudo pihole restartdns. Second, if you’re looking at the graphs in Pi-hole, you’ll notice you’ll start seeing a lot of DNS requests from the router. Any client that tries to use IPv6 to resolve a domain name (at the time of this writing, mostly Apple products) will try to use the router for DNS lookups, which will forward the requests to the Pi-hole, so it will look like all your DNS requests are coming from the router.
Go to “Advanced => DHCP/DNS”, and then in the “Dnsmasq Custom configuration”, add this (replace 192.168.0.10 with the IP of your Pi-hole):
# TODO: This doesn't work in the latest Tomato, but it might work on your router if you're using something else DNSMasq based
dhcp-option=option:dns-server,192.168.0.10
dhcp-option=option6:dns-server
This will tell any clients on your network to use 192.168.0.10 (the Pi-hole) for DNS queries over IPv4, and not to try to do DNS queries over IPv6. Why no IPv6? Because likely if you’re on residential internet, your ISP will assign you a new IPv6 prefix every time you reboot your modem, so it’s hard to give the Pi-hole a static IPv6 address. It’s not impossible, but it’s not easy, and IPv6 lookups will still work over IPv4, so you’re not losing much here.
If you have a guest wifi network set up, you’re going to run into a problem - clients on your 192.168.0.x network can see the Pi-hole fine, but clients on your guest network won’t be able to (this is the whole idea behind a guest network, afterall - to make it so guests can’t get to machines on your private network).
The easiest solution to this is to go to “Advanced”, “LAN Access”, and add a rule allowing traffic from br1 (or whatever your guest VLAN is) to br0 to 192.168.0.10 (or whatever your pihole address is).
Note that once you set these settings, you’ll need to renew the DHCP lease on any devices in your network in order to pick these changes up (easiest way is to disable and enable your wi-fi).
Some Handy Pi-Hole Commands
# Reset the admin password
pihole -a -p

# Clear the DNS cache
pihole restartdns

# Upgrade Pihole to the latest version
pihole -up

# Show debugging information
pihole -d
Enjoy your ad-free browsing!